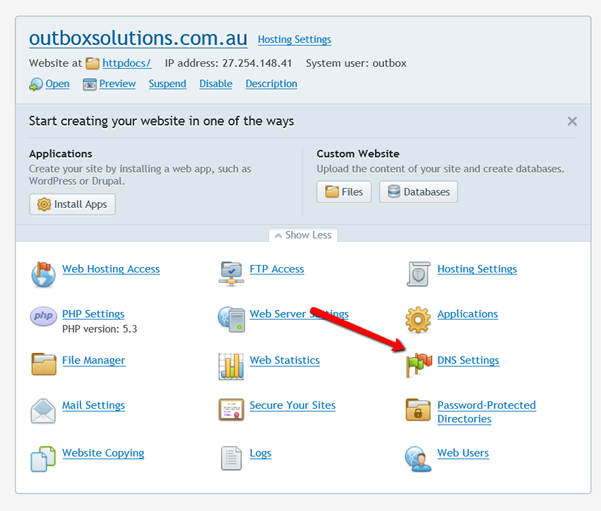
1. Select DNS settings
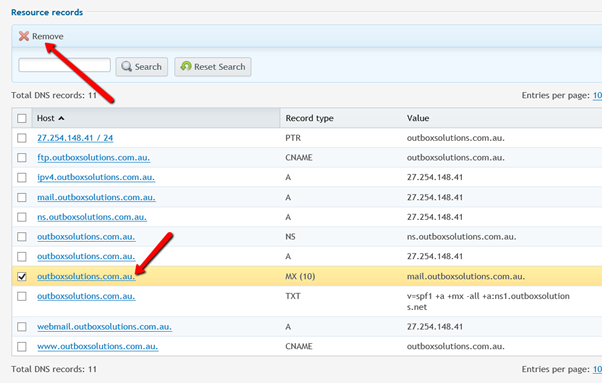
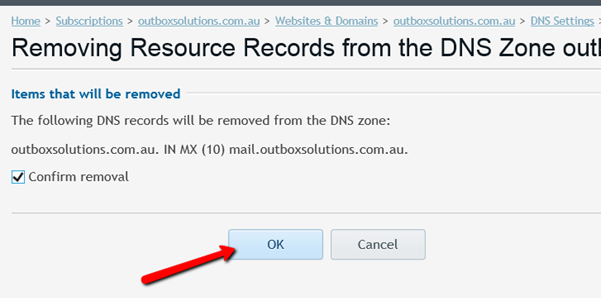
2. Delete the original mx value
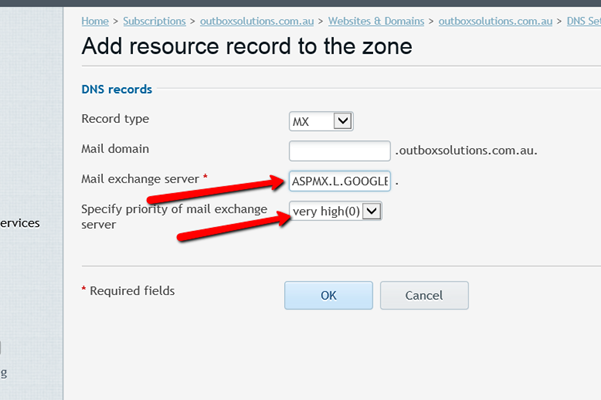
3. Enter the values that google provides https://support.google.com/a/answer/174125?hl=en
| Name/Host/Alias | Time to Live (TTL*) | Record Type | Priority | Value/Answer/Destination |
|---|---|---|---|---|
| Blank or @ | 3600 | MX | 1 | ASPMX.L.GOOGLE.COM |
| Blank or @ | 3600 | MX | 5 | ALT1.ASPMX.L.GOOGLE.COM |
| Blank or @ | 3600 | MX | 5 | ALT2.ASPMX.L.GOOGLE.COM |
| Blank or @ | 3600 | MX | 10 | ALT3.ASPMX.L.GOOGLE.COM |
| Blank or @ | 3600 | MX | 10 | ALT4.ASPMX.L.GOOGLE.COM |
4. Add include:_spf.google.com to the SPF (TXT Type), for example:
Example 1 v=spf1 a mx ip4:123.456.789 include:_spf.google.com ~all
Example 2 v=spf1 include:serverdomain.com include:_spf.google.com ~all
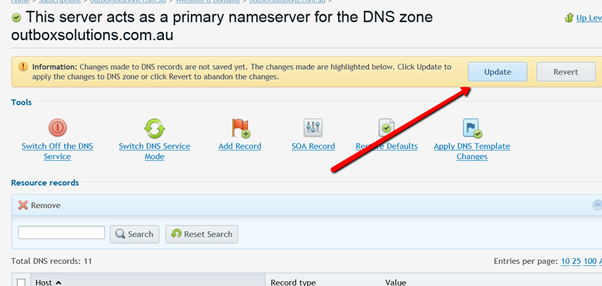
5. Press to make DNS update
6. Go to Email > Mail Setting
7. Tick the domain and select Deactivate Service
Validate here : https://toolbox.googleapps.com/apps/checkmx/
